As written in these guidelines.
Statistics: Posted by elanorelle — Sun Dec 04, 2016 10:02 pm
]]>
]]>
Statistics: Posted by hobbit_of_narnia — Wed Jan 28, 2015 8:39 pm
]]>
Statistics: Posted by narniac101 — Wed Jan 28, 2015 8:37 pm
]]>
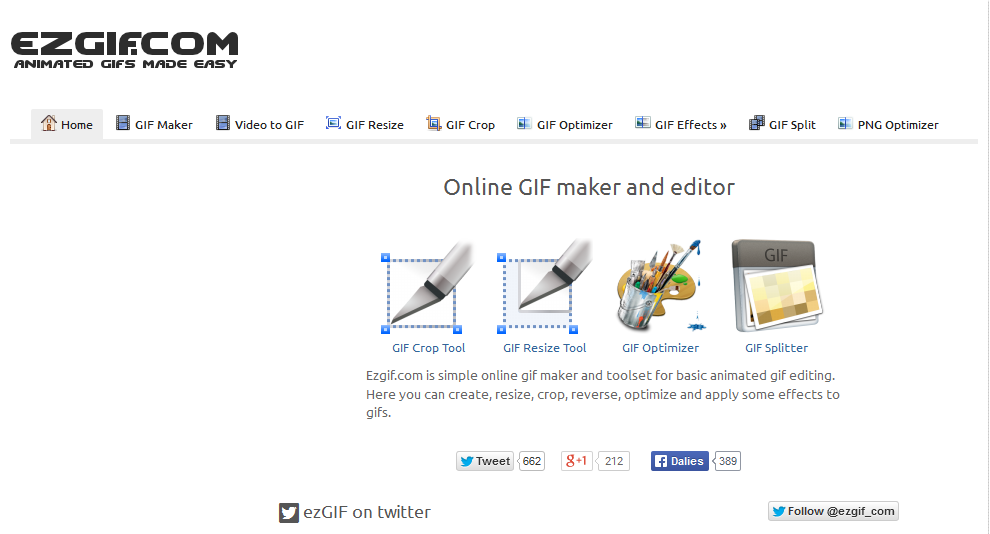
This is the homepage at ezgif.com.
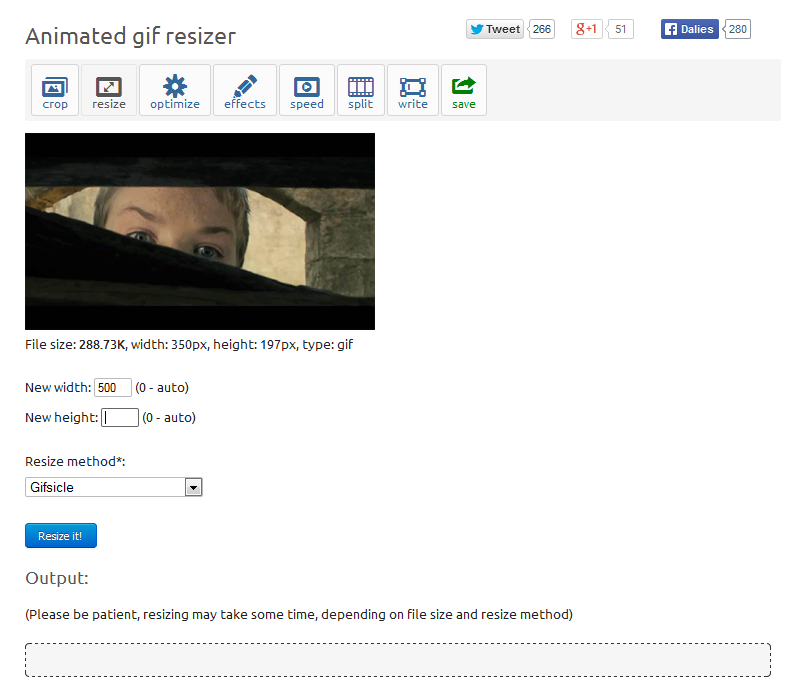
RESIZING
Now I'm on the the resize page, which I got to by clicking the GIF Resize tab along the top of the homepage. I'm going to click "Browse" and find the picture on my computer. Once I've found it I'll click "Upload!"

So now my picture is uploaded. It's going to be 500 wide, and it will automatically resize the rest once I click "Resize it!"
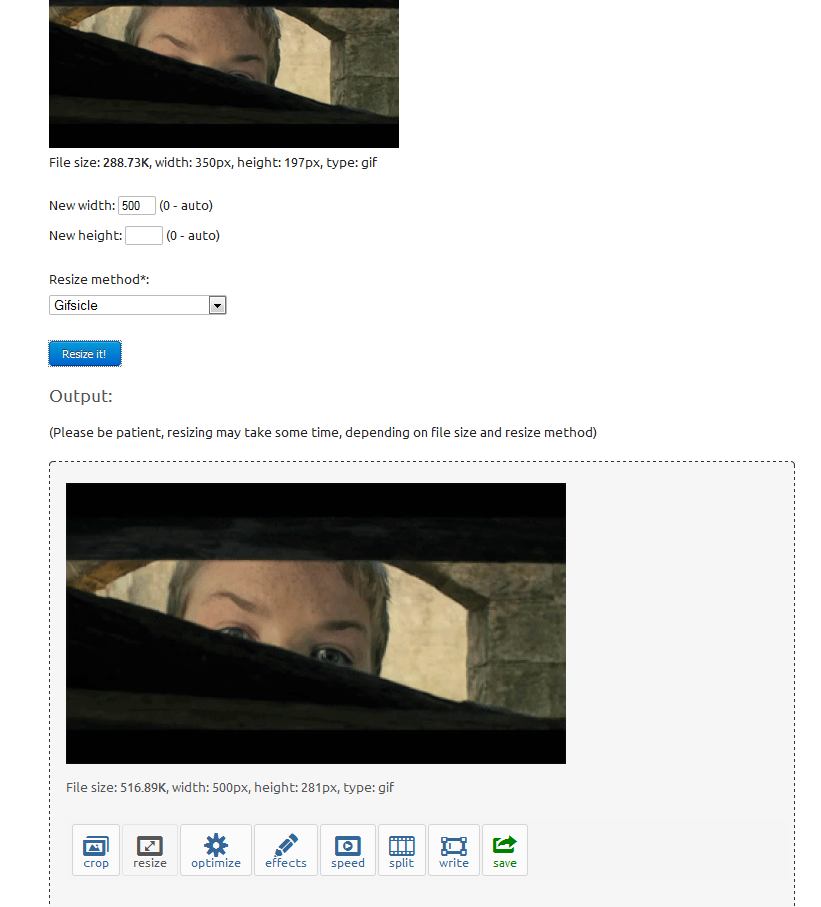
Here's the result. I'll save it to my computer and continue to the next step.
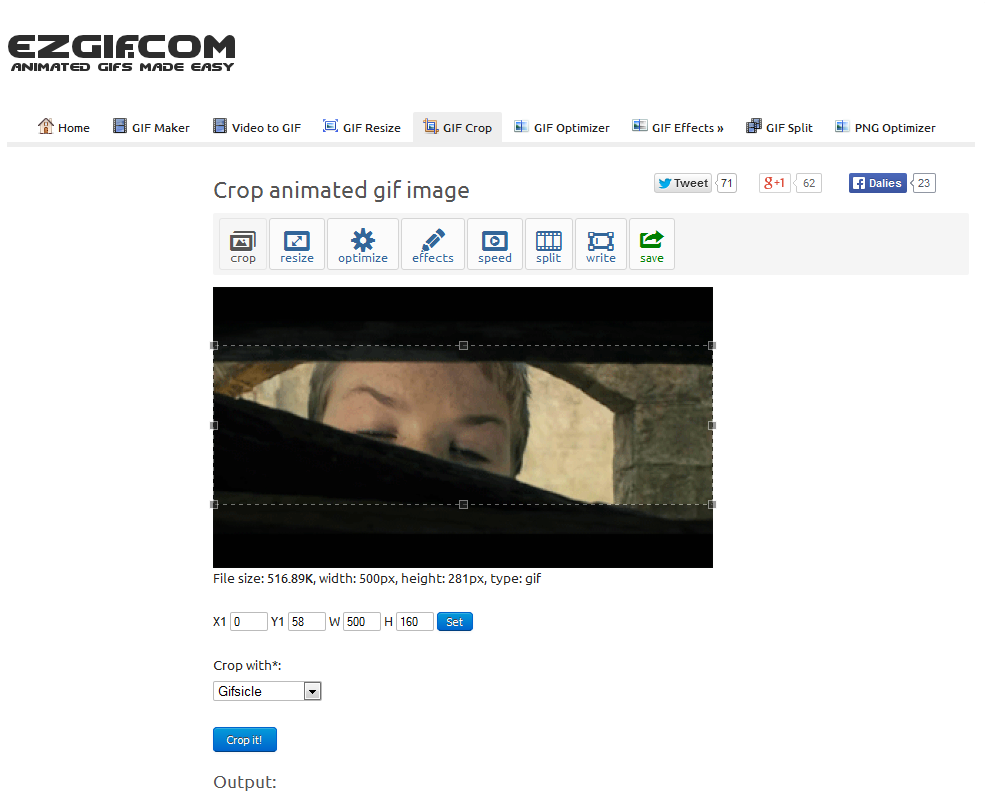
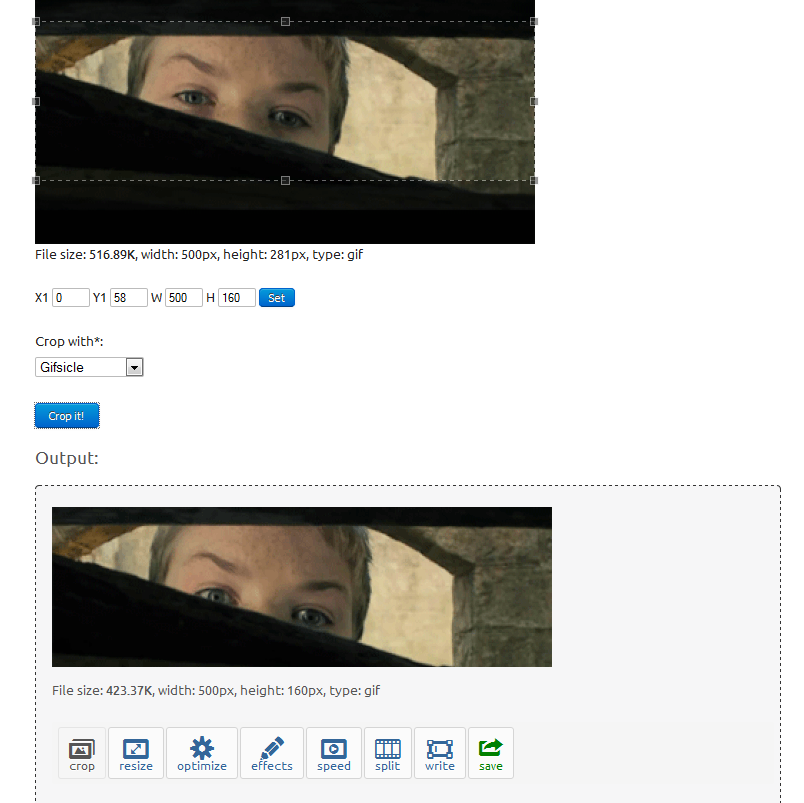
CROPPING
I loaded my resized picture. Here I've typed in the size I want (500x160) and dragged the little box to were I want it. Now I'll click "Crop it!"
Here we go. Again I'll save it to my computer.
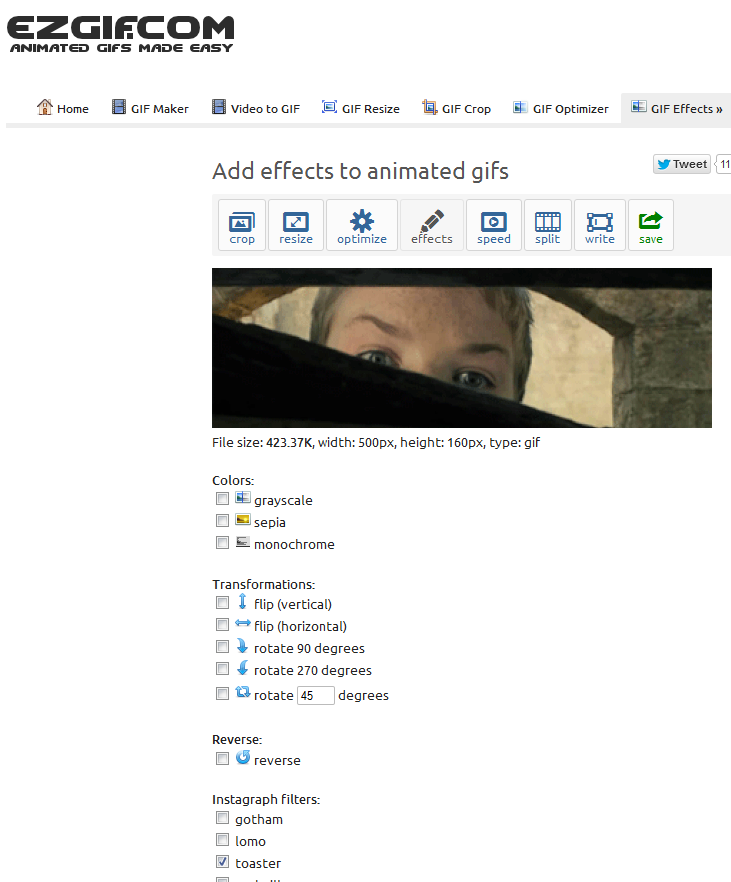
FILTERING
Here's the "Effects" toolbar. First I'm going to do my color filter, which will give the picture an interesting color effect.
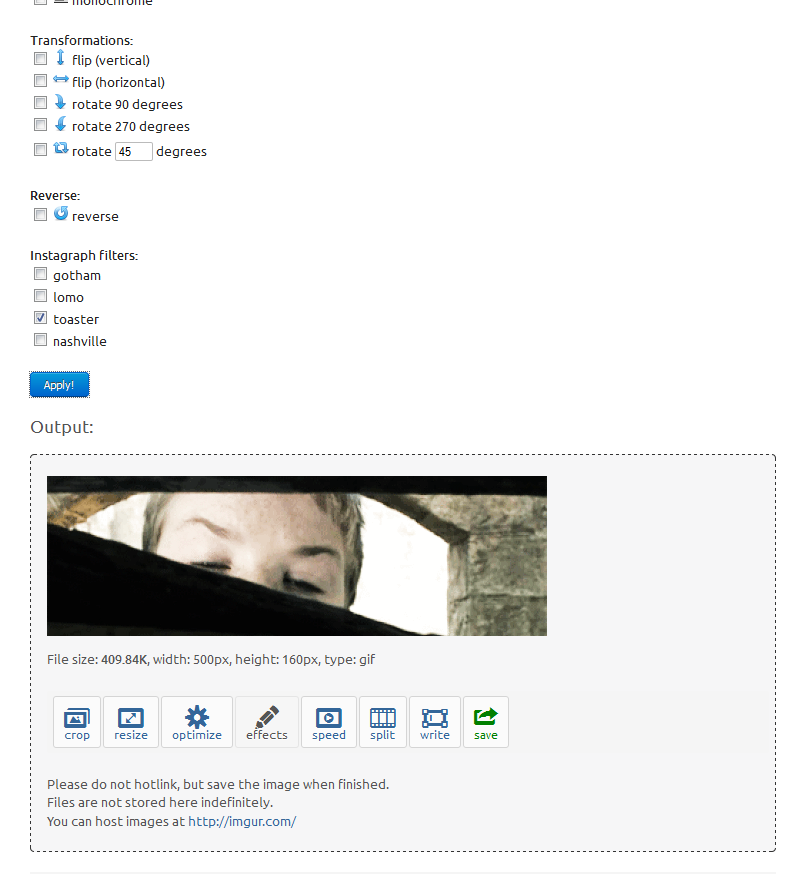
I'm choosing the "Toaster" filter, as you can see down at the bottom.
I've applied the filter now, and I'll save the picture to my computer.
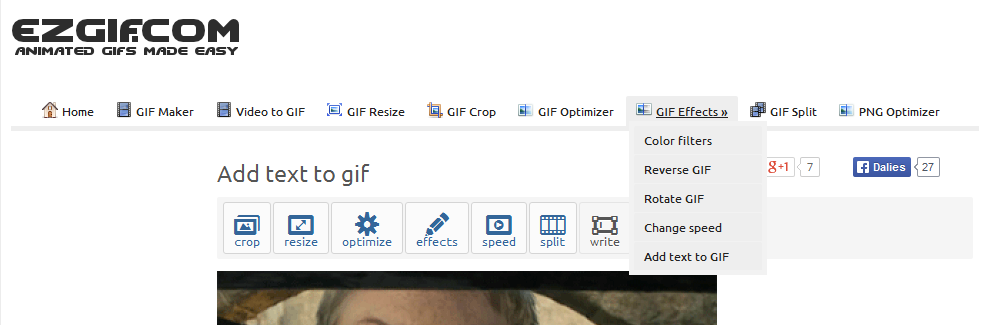
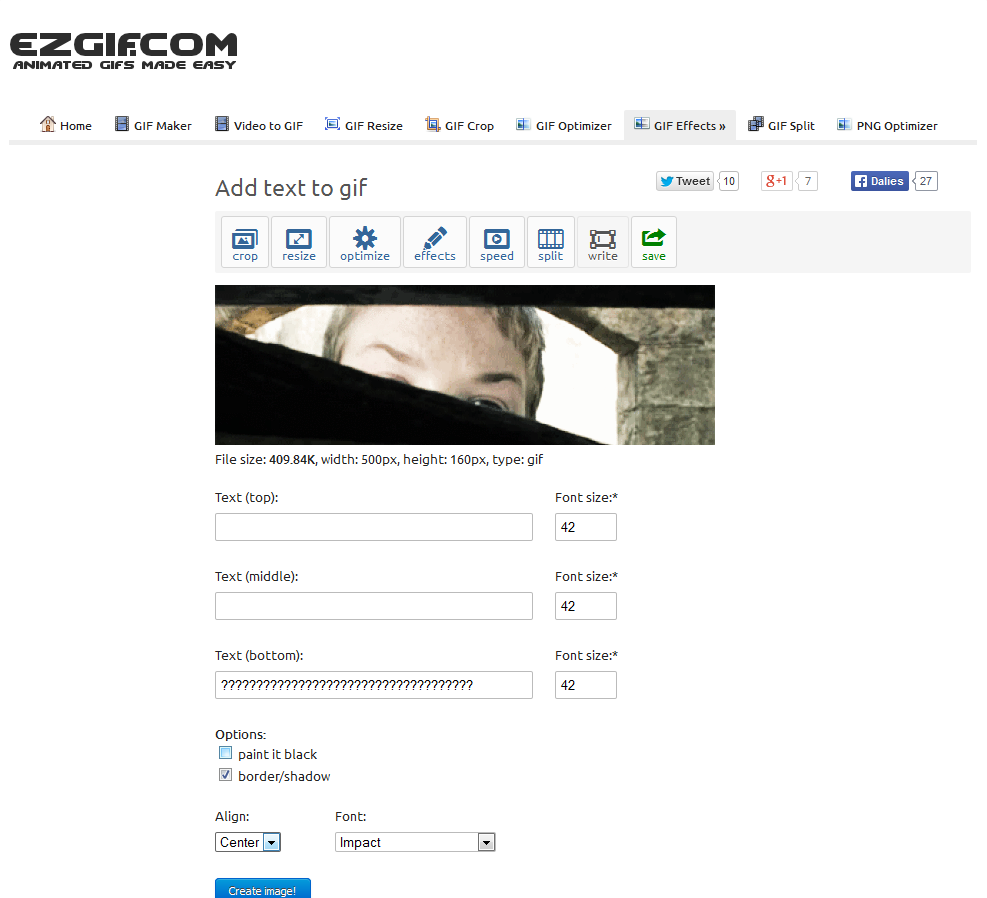
ADDING TEXT
Now, on that same "Effects" toolbar, I'm going to find "Add Text". I'll put in a bunch of question marks along the bottom of the sig, since Eustace looks really curious in the picture.
Applied, and once again I'll save it to the computer.
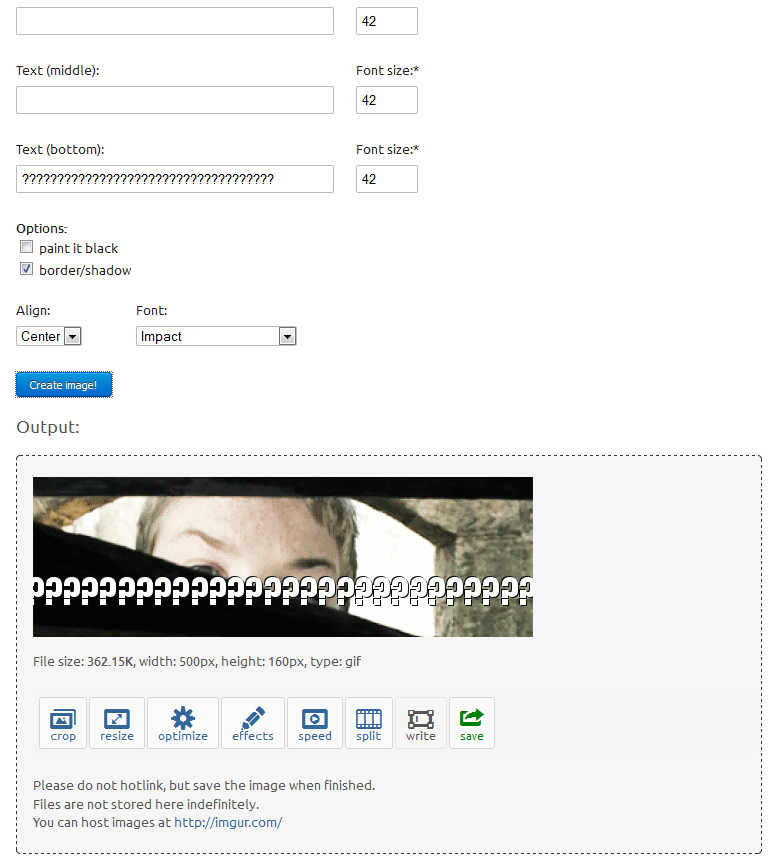
FINISHED RESULT
Statistics: Posted by hobbit_of_narnia — Wed Jan 28, 2015 8:14 pm
]]>
]]>
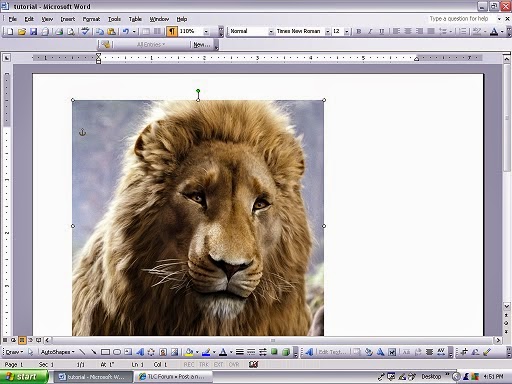
Opening a picture on Microsoft Word:
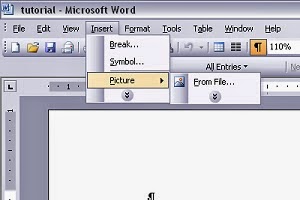
1. Open Microsoft Word. There will be a drop-down menu on the top called "Insert". Click on it. There will be a thing on that menu that says "Picture". Mouse over that and click on "From File".
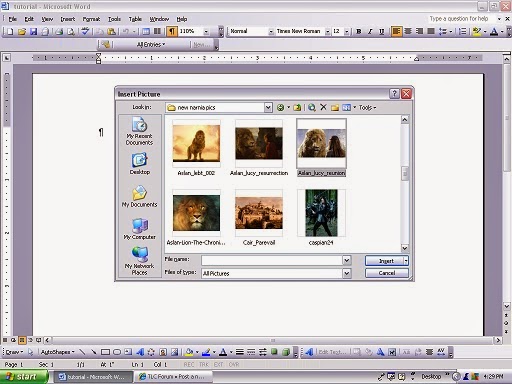
2. Find the picture you'll be using (hopefully you already know how to do this). Then click "Insert".
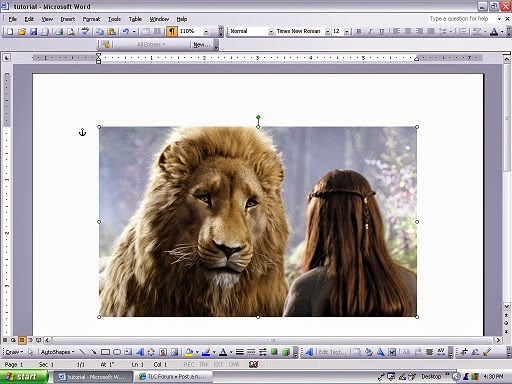
3. The picture is now in your document!
Cropping and Resizing
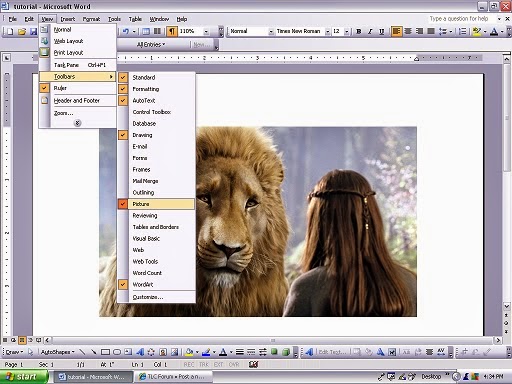
1. Be sure "Picture" is one of your toolbars. If it isn't, go to the "View" dropdown menu and higlight "Toolbars". It should be right there.
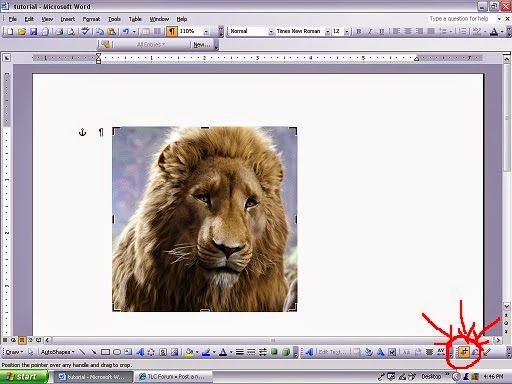
2. Cropping: On the "Pictures" toolbar, there is a button that looks like two right angles crossing each other. This is the cropping tool. Click on it. You'll see some short, thick black lengths of line on the corners and along the sides of your pictures. Click and drag them to crop your picture.

3. Resizing: Click on your picture. In the corners and along the sides there will be little white circles. Unless you want your picture to be really squished, don't touch the ones on the sides. Now click "Shift" on your computer keyboard, click on one of the corner circles, and drag it to the correct size you want. (Clicking "Shift" with this keeps the picture's proportions the same way they were before.)
4. To move the picture, simply click on it and drag it to wherever it is you want it. (You can also use the arrows on your keyboard to move it.)
Other things you can do with pictures are:
Rotate
Add text
Make one color in the picture semitransparent
Add a spotlight
So if I make any more tutorials later, I can show you how to do those things as well.
Statistics: Posted by hobbit_of_narnia — Sat Jul 26, 2014 10:01 pm
]]>
Statistics: Posted by albero1 — Sun Feb 02, 2014 5:08 pm
]]>
]]>
I would post what it looks like, but my computer is being naughty. *sigh*
EDIT: I got it to work!!!

1. Open your picture in GIMP. This one is 482x158 pixels.

2. Click the letter "A" in the toolbox. Drag it over your picture to create a text box. After you've written your text, choose your text color, font, and text size. I think that doing a font color really close to the background color looks really cool.
3. Click on the little cross-thingy in the toolbox and move your text to the place you want it to go.

4. On the layers dock, make sure the text is selected.
5. Go to the top of GIMP and select Filters>Light and Shadow>Xach Effect.
6. This should pop up:

Make sure it looks like mine.
7. Click "Okay".
8. There'll be moving lines all around the text.
9. Go to Select>None at the top of GIMP.
10. The moving lines'll disappear.
11. Go to File>Name your graphic>Save.
That's it!
Statistics: Posted by albero1 — Mon Jan 27, 2014 9:46 pm
]]>
I will be using this image as it is already 500x160 (signature maximum):

And I will be adding text to look like this:

1. Save the above image (the one without the text) or an image of your choice in a folder you can easily find.
2. Open GIMP.
3. Go to File>Open>then find and choose your picture.

4. Click open.
5. It will open up, and your layers dock should look like this:

6. Now click on the “A” in the toolbox. (That is the text tool).
7. Click and drag your mouse across your picture.
8. Inside of the box type the text you want to appear on your picture. (Don't worry about font, colour, or size just yet.)
9. Now here is the fun part! Customise your font! I find it easier to do it directly on the picture, like this:

(Note: Using a lighter colour or white will look much better for this text tutorial.)
10. After you are finished getting the font how you want it click the Move Tool:

11. Click the text layer and move it around the area you want it to be.
12. After you have it situated refer to the Layers dock and be sure that the text layer is the one selected:

13. Now go to the top and click Filters>Light and Shadow>Drop Shadow.
14. A box should pop up (Make sure it looks like mine):

15. Click OK.
16. Right click on your text layer (in the Layer dock), a list should pop up. Click on “Alpha to Selection”.

17. The text should now have moving lines all around it.
18. Now make sure that you select the the “drop shadow” layer.
19. Go to the top and click Edit>Cut
20. Select the text layer once more in the Layer dock. Go to the top of GIMP and click Select>None
21. The moving lines should now disappear.
22. Now go back to the Layers dock, click on the drop down arrow in “Mode”.
23. Click on “Overlay”

24. The text should now look clear.
25. With the text layer still selected click on the two squares at the bottom of the Layers dock. (This will duplicate the layer).

26. You can duplicate the text layer as many times as you wish to get your desired effect. You can also lower the Opacity if you wish. (Note: I duplicated mine three times.)
27. Once you are finished click File>Export>title it>Export>Export.
28. You have successfully completed this tutorial!
____________________________________________________________________________________________
I hope you were able to follow this easily. If anything seems confusing please let me know so that I can fix it.
-Elanor
Statistics: Posted by elanorelle — Sun Sep 08, 2013 2:44 am
]]>
Avvie with spiffy shiny red spot of light Tutorial. (This Tutorial was made with Gimp 2.6.11)
Some of the tips came from tutorials on Narniaweb. Others I just made up myself.
One of the tutorials I used parts of, used to be posted on this forum before the site Crash. Their Name was "WanderingRanger"
Start with an image 100x100. I took found a Avatar Base from Spareoom.net and downloaded it.

Duplicate the base and set to Screen 40%. To Duplicate simply find the "Layer" tab and look for the option "Duplicate Layer".
I found it especially helpful to work with the Layer control open (Ctrl + L ) Once there you can keep track of which is the base layer and set it to Various settings.
Duplicate the Layer again and set to Dodge 40%. Flatten image. (Click on the Image Tab, a few down from "File", then Scroll down to Flatten Image.)
Then open the texture you see below. (File/Open as Layers)

Set to "Screen" and Position it as you like.
There. Hopefully If I've remembered right your Avatar should look somewhat like this.
(Spareoom.net is not affiliated with thelionscall.com)
Statistics: Posted by Lil — Wed Aug 28, 2013 9:43 pm
]]>
I will be using these two images as they are already 450x160 (Signature maximum on the other site):


And changing them to this:

1. Save above images or two images of your own choosing in a folder you can easily find.
2. Open Gimp.
3. Go to File>Open as Layers>Choose your pictures. (Tip: If you hold Ctrl you can select both at the same time.)

4. Click Open.
5. Both will open up. The Layers dock should look like this:

6. Using the Move Tool in the Toolbox dock move the top layer where you want it. (Don't worry about how it looks when you move it, the blend should fix that
7. After you have moved the picture where you want it go to the Layers dock and right click on the top layer. A whole list of options should pop up: click Add Layer Mask.

Make sure that you select White Full Opacity (unless it is already selected.) Click Add.

8. Select the Blend Tool from the Toolbox dock: (Note: Be sure that the Foreground colour is black and the Background colour is white as pictured.)

9. Run the Blend Tool across the two pictures:

10. Voila! You now have a blended picture! If you don't like the way it looks play around with the Blend Tool until you have something that pleases you.
11. If you are satisfied with how it turned out and want to save it go to File>Export

12. Title it what you would like it to be called> Click Export> A window will pop up “Export image as JPEG” or “Export image as PNG”> Click Export.
13. You are finished!
If anything seems confusing please tell me so that I can fix it.
I hope this tutorial is simple enough to follow and useful too as it is my first-ever tutorial. ^.^
Thanks very much for reading.
-Elanor
Statistics: Posted by elanorelle — Tue Aug 27, 2013 4:34 pm
]]>
This thread is for simple, quick items. For anything long, please make a separate thread for it, but make sure you read the tutorial posting rules and guidelines thread first.
Any posts with illustrations are subject to the graphics posting rules and guidelines.
All posts are subject to the forum and tutorial posting rules and guidelines.
Statistics: Posted by White Rose — Mon Aug 26, 2013 5:11 pm
]]>