I would post what it looks like, but my computer is being naughty. *sigh*
EDIT: I got it to work!!!

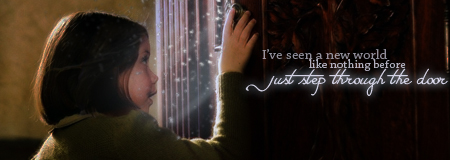
1. Open your picture in GIMP. This one is 482x158 pixels.

2. Click the letter "A" in the toolbox. Drag it over your picture to create a text box. After you've written your text, choose your text color, font, and text size. I think that doing a font color really close to the background color looks really cool.
3. Click on the little cross-thingy in the toolbox and move your text to the place you want it to go.

4. On the layers dock, make sure the text is selected.
5. Go to the top of GIMP and select Filters>Light and Shadow>Xach Effect.
6. This should pop up:

Make sure it looks like mine.
7. Click "Okay".
8. There'll be moving lines all around the text.
9. Go to Select>None at the top of GIMP.
10. The moving lines'll disappear.
11. Go to File>Name your graphic>Save.
That's it!