As a mother of two with a full-time job I don’t always have the time for cake decorating and party planning that I might prefer, but I still want my kids to have a great time, so I ask myself “What will give me the most impact in the least amount of time?”
After visiting Pinterest I decided I wanted to make a castle cake. But I didn’t want to mix, bake and ice it.
So I decided to let the grocery store do most of the work.
You will need:
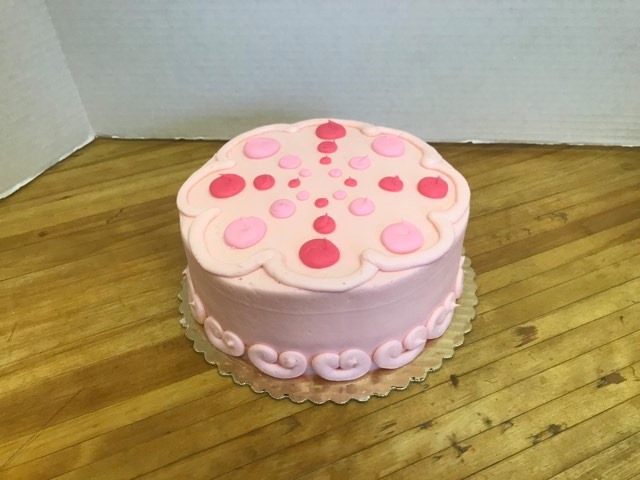
- 1 two-layer cake, pre-iced from store with a design you like or preordered.
- 1 package cake cones
- 1 package sugar cones
- 1 pouch of icing with a star tip in a color that coordinates with the cake (I used white as pinks can be hard to match)
- 5 barbecue skewers (If you are a crafty parent and do not own these, you should get a pack of them forthwith: shadow puppets, toy theaters characters, masts for our Dawn Treader Potato Boats…these are great for everything and one package lasts a long time. Just remember to snip off pointy ends before using with little ones.)
- Scraps of colored paper
- A marker
- Glue
Steps
- Two days before party: Preorder cake from store in a design and color of your choice. I found a design that was conveniently divided into eighths, but many designs could work as well.
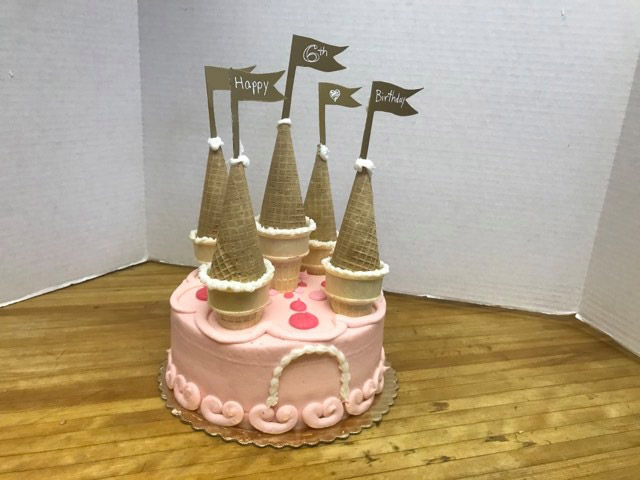
- The day before: Cut pennants from scraps of paper, write your message on them, and glue them to the ends of five barbecue skewers (This is slightly different than what is shown in the photo because I didn’t use barbecue sticks and had an awful time getting my flags to stand up straight.)
- The day of the party: Pick up cake.

- Cut off the tips of five sugar cones with a serrated knife, just enough to allow the barbecue sticks to pass through them. It’s ok if they’re a little sloppy or pieces chip off. You will cover the ends with icing.
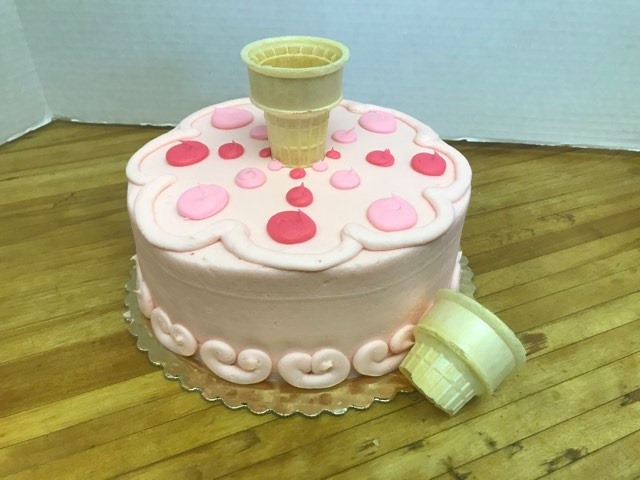
- Cut part of the bottoms off four of the cake cones with a serrated knife. Again it’s alright if the bottoms are a little uneven.
- Press one uncut cake cone into the icing on the center of the cake.

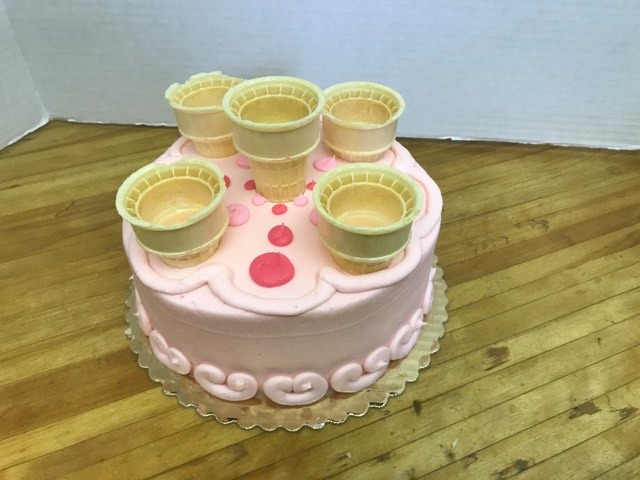
- Press the four shortened cake cones into the cake surrounding the central cone, so that they are all the same height and any rough bottom edges are hidden.

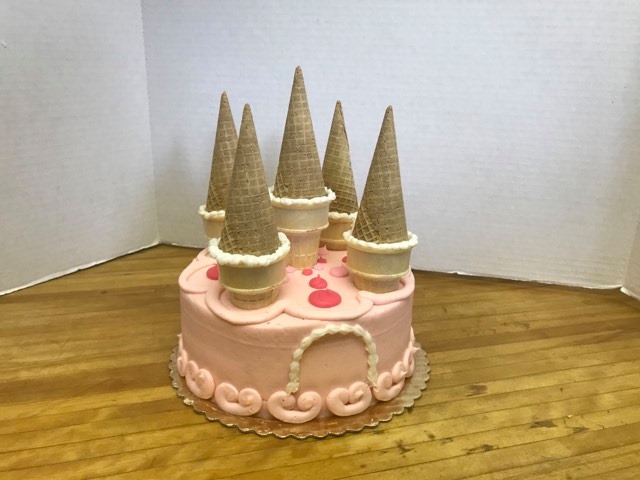
- Pipe icing around the top of each cake cone, starting with the center cone.
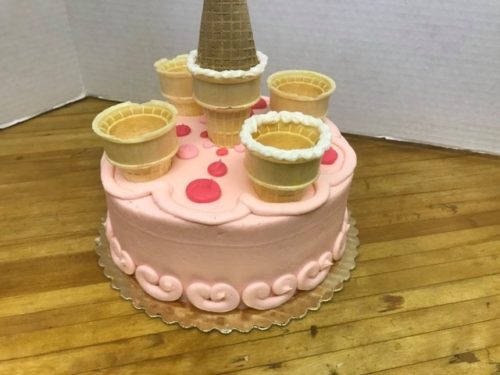
- Press upside-down sugar cones into the icing on top of each cake cone.
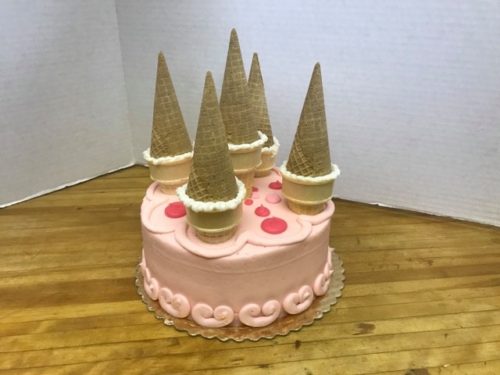
- Pipe a gateway onto the side of the castle.
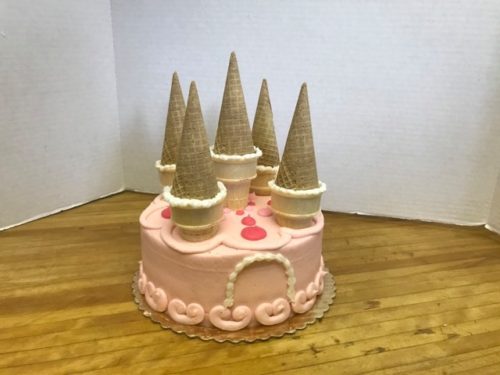
- Pipe some icing onto the tip of each sugar cone.
- Insert skewers through the icing and cones down into the cake.


Get ready for smiles!